Optimizing your WooCommerce store’s checkout page is one of the most effective ways to increase conversions, reduce cart abandonment, and enhance user experience. A cluttered or confusing checkout process often results in lost sales. By customizing your WooCommerce checkout page, you create a seamless and branded shopping experience that guides customers smoothly through the payment process.
In this guide, we’ll explore practical, easy-to-implement hacks that let you customize WooCommerce checkout pages without hassle. From rearranging fields to adding custom designs and functionalities, every tip here is aimed at helping your store stand out and convert better.
Why Customize the WooCommerce Checkout Page?
The default WooCommerce checkout page is functional but not always optimal for every business. Different stores have different needs, and your checkout page should reflect your brand and customer journey. Customizing the page allows you to:
- Remove unnecessary fields that slow down purchases.
- Add trust signals like security badges and testimonials.
- Adjust layout and style for better branding.
- Include upsells, cross-sells, or extra information.
Make checkout mobile-friendly and streamlined.
Easy Ways to Customize WooCommerce Checkout Page
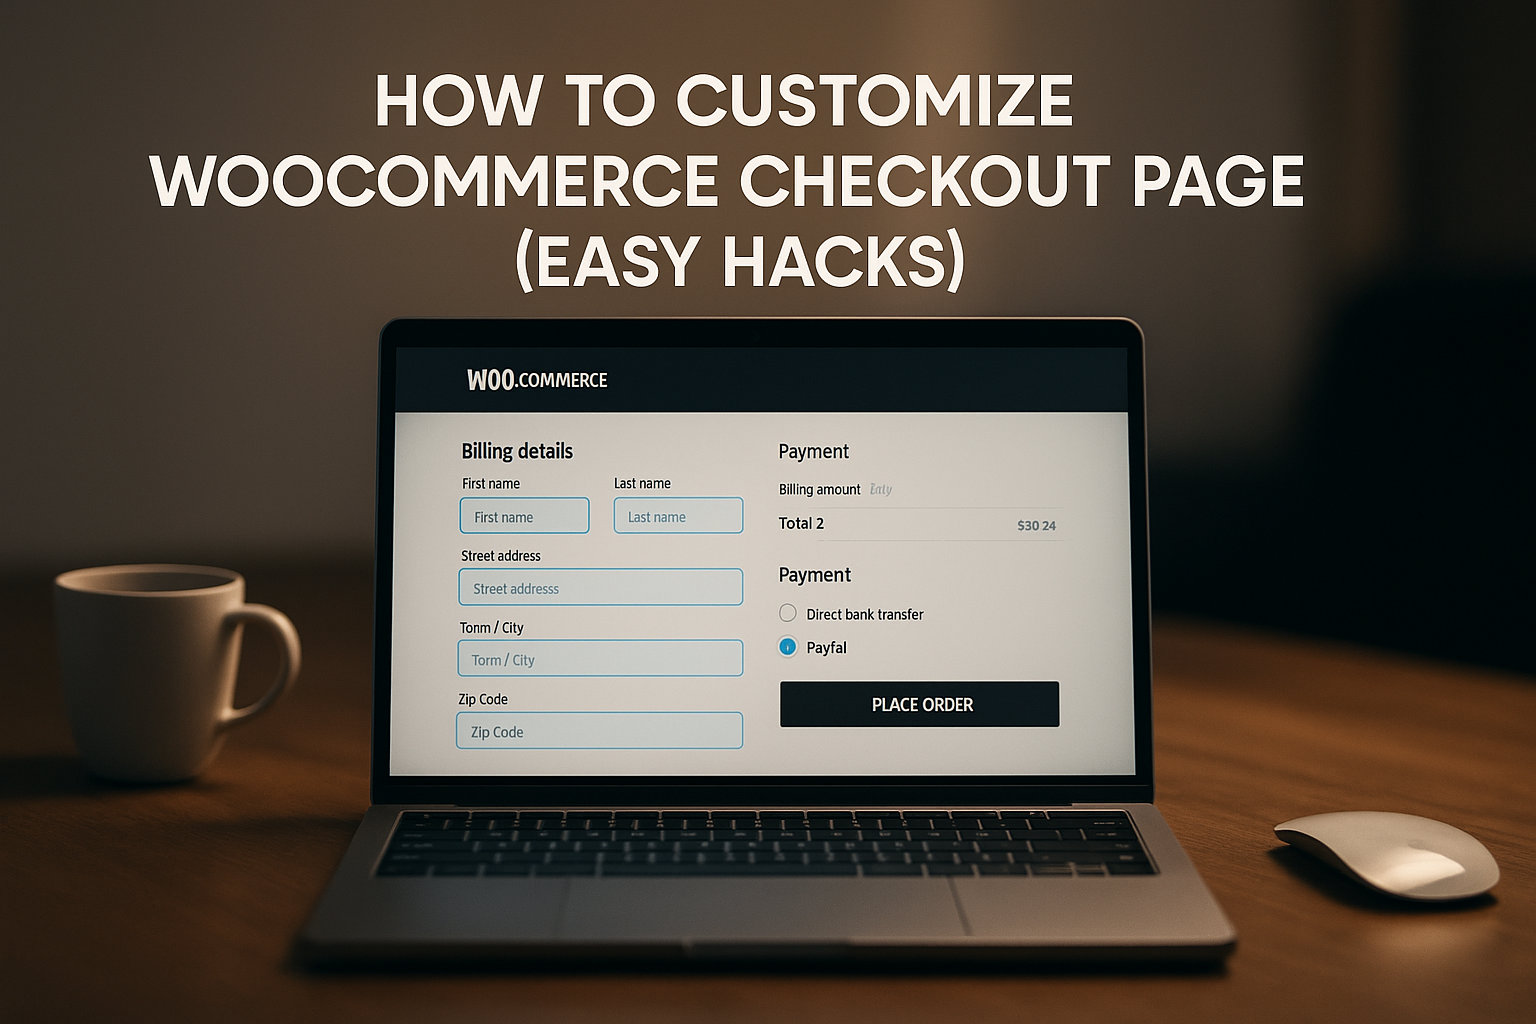
1. Rearranging and Removing Checkout Fields
By default, WooCommerce asks for a lot of information that may not always be relevant. For example, a digital store doesn’t need shipping details.
You can easily remove or rearrange fields using the following methods:
- Plugins: Install plugins like Checkout Field Editor to drag, drop, remove, or rename fields.
- Code Snippets: Use WooCommerce hooks like woocommerce_checkout_fields to customize field order or delete unnecessary ones.
This ensures customers only fill out the most relevant details, making the process faster and smoother.
2. Adding Custom Fields
Sometimes, you need extra details from customers, such as gift notes, delivery instructions, or personalization preferences. Adding custom fields can be done by:
- Using plugins like Advanced Custom Fields or Flexible Checkout Fields.
- Writing custom code with hooks such as woocommerce_after_order_notes.
Make sure added fields enhance the customer experience rather than complicating it.
3. Styling Checkout Page for Better Branding
A checkout page should look like an extension of your brand—not a generic template. You can:
- Use CSS customization to align fonts, buttons, and colors with your brand identity.
- Apply a page builder like Elementor or Divi to design a visually appealing layout.
- Add your store’s logo, tagline, and trust badges to increase credibility.
This creates a consistent brand journey that builds trust and reduces friction during checkout.
4. Streamlining the Checkout Process
Long and complicated checkouts often discourage customers. To streamline:
- Implement a one-page checkout with plugins like WooCommerce One Page Checkout.
- Enable auto-fill features for returning customers.
- Offer guest checkout so users don’t need to create accounts unnecessarily.
By reducing clicks and distractions, you can drastically improve conversion rates.
5. Enabling Multiple Payment Options
Not all customers prefer the same payment method. Offering multiple options builds trust and convenience. Popular integrations include:
- PayPal
- Stripe
- Razorpay
- Apple Pay / Google Pay
Adding more payment gateways ensures customers never abandon checkout due to limited payment choices.
6. Adding Upsells and Cross-Sells
The checkout page is a prime location to increase average order value. You can:
- Add related products or recommended bundles.
- Use plugins like Cart Upsell for WooCommerce.
- Display discounts for add-ons right before payment confirmation.
This strategy encourages impulse purchases without interrupting the checkout flow.
7. Improving Mobile Checkout Experience
A majority of users shop via mobile devices, so your checkout must be mobile-optimized. To achieve this:
- Ensure the layout is responsive and touch-friendly.
- Use larger input fields and buttons.
- Provide mobile wallet payment integrations like UPI, PayTM, or Apple Pay.
Smooth mobile experiences drastically cut cart abandonment rates.
8. Adding Security and Trust Elements
Security is a critical factor in whether customers complete their purchase. Boost trust by:
- Displaying SSL certificate badges.
- Adding trust seals and money-back guarantees.
- Providing visible customer support options like live chat or WhatsApp support.
Customers are far more likely to finish checkout if they feel safe and supported.
9. Customizing Thank You Page
The checkout experience doesn’t end after payment. By customizing the Thank You page, you can:
- Add order tracking details.
- Show personalized product recommendations.
- Encourage social sharing of their purchase.
- Provide discount codes for repeat business.
A well-optimized Thank You page keeps customers engaged even after purchase.
.
10. Using Checkout Optimization Plugins
If coding isn’t your thing, several all-in-one plugins make customization easier:
- WooCommerce Checkout Manager
- Direct Checkout for WooCommerce
- WooCommerce Multistep Checkout Wizard
- CartFlows
These tools simplify design, functionality, and checkout flow adjustments without needing deep technical knowledge.
Best Practices for WooCommerce Checkout Customization
- Keep checkout forms short and relevant.
- Always test changes before going live.
- Monitor analytics to track drop-off points.
- Use A/B testing to compare different designs.
Ensure compliance with GDPR and local regulations.
Follow Us | Our Services | Contact Us | Linkedin | Instagram